How to Use Tags to Manage Your Sites

The primary purpose of Watchful is to save you time. Organization of your website plays a big part in achieving this goal. The ability to tag your websites provides a flexible way for Watchers to organize their mainteance workflows.
And since Tags can be added and managed easily, we see a lot of creativity from our users in how to efficiently perform maintenance tasks.
Here are some common ways that people use Tags to improve their site maintenance tasks. We encourage you to use these examples as a basis to create your maintenance workflows and use tags to manage your sites!
1. Quick-select.
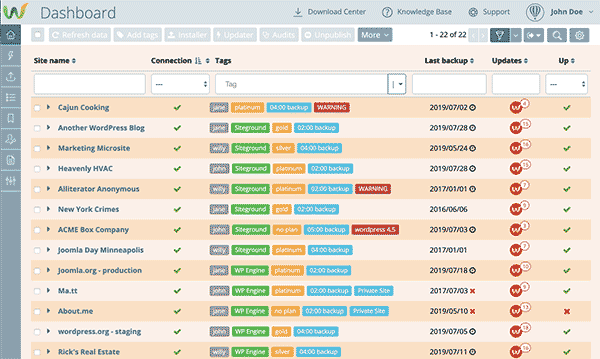
In Watchful, Tags are usually clickable. For example, clicking on a tag in the Watchful dashboard will auto-filter the list of sites as you can see in the animation below. If you’ve tagged your sites by support plan, host, or team member, you can see how easy it is to quickly get an overview of the subset of sites related to the tag or tags selected.
In this example, the system quickly displays sites tagged as being on a Gold support plan or assigned to John.

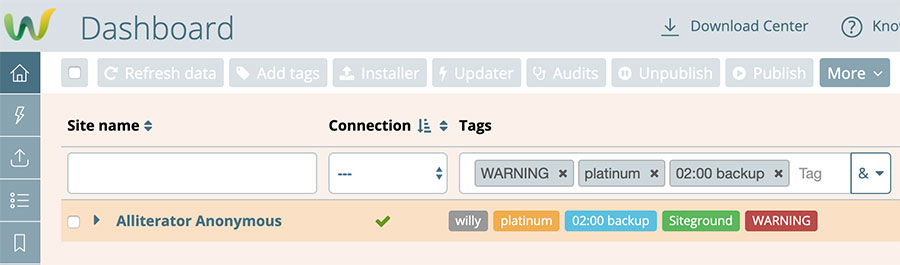
2. Change the operator.
When filtering the dashboard by Tags (either manually, or using the quick-select process describe above), multiple Tags are combined using the OR operator by default. In other words, the system will display sites that have at least one of the chosen Tags. However, you can change the operator from OR to AND. This means that the list of filtered sites must contain all of the selected Tags.
The image below shows an example of using the AND operator.
3. Pre-filter the installer or the updater using Tags.
A common task for a Watcher is to load the dashboard, select a few sites, and then launch the updater or the remote installer. You can speed this up a little by using tags to quick-select sites that you want to do maintenance on at the same time. Once the dashboard is auto-filtered, select them all with the 1-click select at the top-left, then click the Installer or Updater button in the top toolbar.
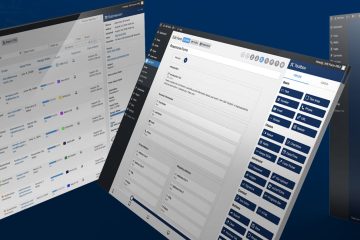
As shown below, the tags chosen on the Dashboard pass through to the Installer/Updater.
4. Group Tags by color.
You can associate each Tag with one of six colors. One idea for improved productivity is to group related Tags by color. For example, all Tags related to hosting might be associated with green while backup times are associated with blue. This makes it easy to quickly identify site characteristics by color.
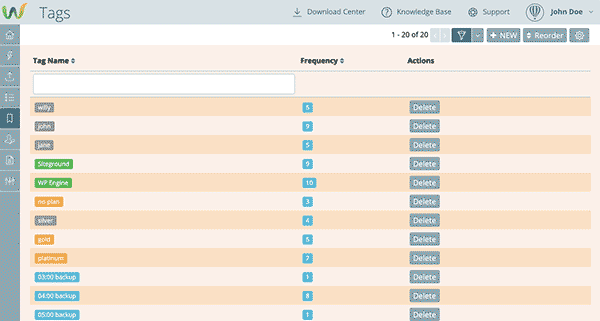
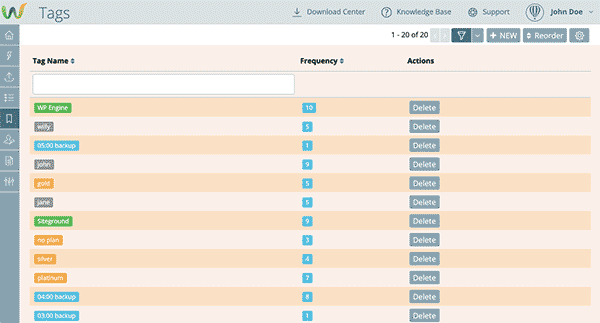
5. Reorder all your Tags.
When you first start adding Tags to your sites, they appear in the order in which they were created. For many Watchers, the dashboard can start to look a bit confusing with many Tags in a random order.
However, there is a simple way to reorder all your Tags at once. From the Tag Manager screen select the Reorder button at the top-right. Then drag-n-drop the tags to the desired order. If you are color-coding your tags also (av=bove), it may be helpful to place tags with the same color together.
Open your free Watchful account
Watchful is a free website dashboard for digital agencies. Open your free account today and learn how much time you’ll save managing your WordPress backups, updates, and security with Watchful.
No credit card is required and there is no long-term commitment.


0 Comments