Main Support
Installing XCloner on your website
XCloner has been a 'top 10' backup plugin for many years. One of the reasons for this popularity is the large feature set included with XCloner, including a number of offsite and cloud-storage options.
To use XCloner as a backup tool in Watchful:
- In your WordPress website backend, select
Plugins > Add newfrom the sidebar. - In the search bar enter
XCloner. - Install and activate the
XClonerwhich should be the first in the list.
- If you plan to store your backups at a remote destination like Google Drive or Amazon S3 — which we strongly recommend — add your remote credentials by visiting the relevant section of
Site Backups > Remote Storage. Be sure the remote destination is enabled using the switch at the top-right as shown below: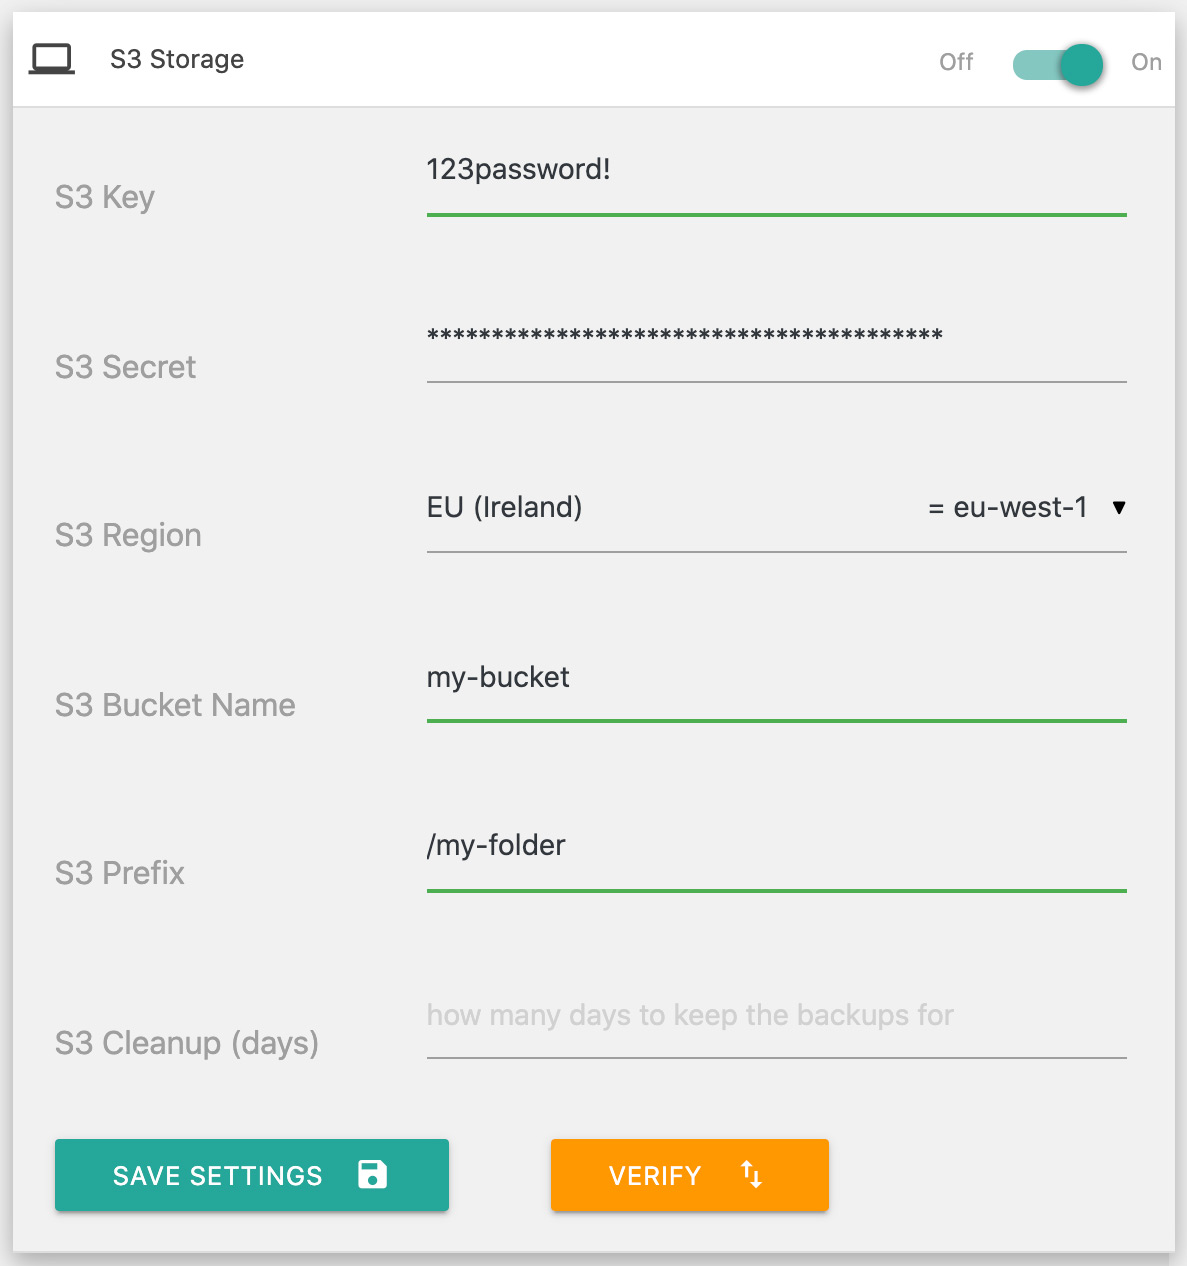
- From the sidebar in the WordPress backend select
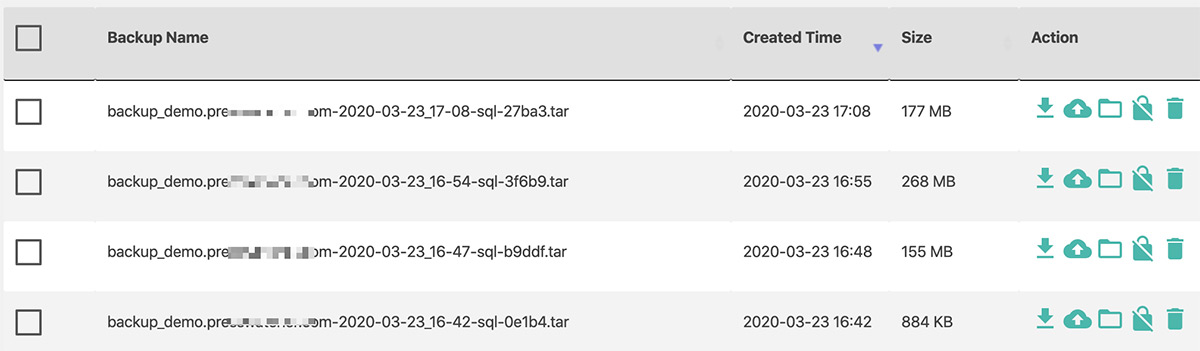
Site Backups > Generate Backups. Follow the on-screen prompts to create a backup. - Once a successful backup is produced from the WordPress backend, you are ready to perform schedule XCloner backups with Watchful.
Search Knowledge base
Most popular
- Add a Joomla website to Watchful
- Add a website to Watchful
- Add a WordPress website to Watchful
- Does Watchful support managed hosts like WP Engine, Flywheel, and Pantheon?
- How do I generate reports for my clients?
- How to add Tags to your WordPress & Joomla websites in Watchful
- How to use the Auto Update Scheduler
- How to use the Auto Updater
- Managing your auto-updating softwares
- Three ways to backup your website with Watchful